Accessing, signing & completing the actions on the Document
Step 1: Accessing the Document
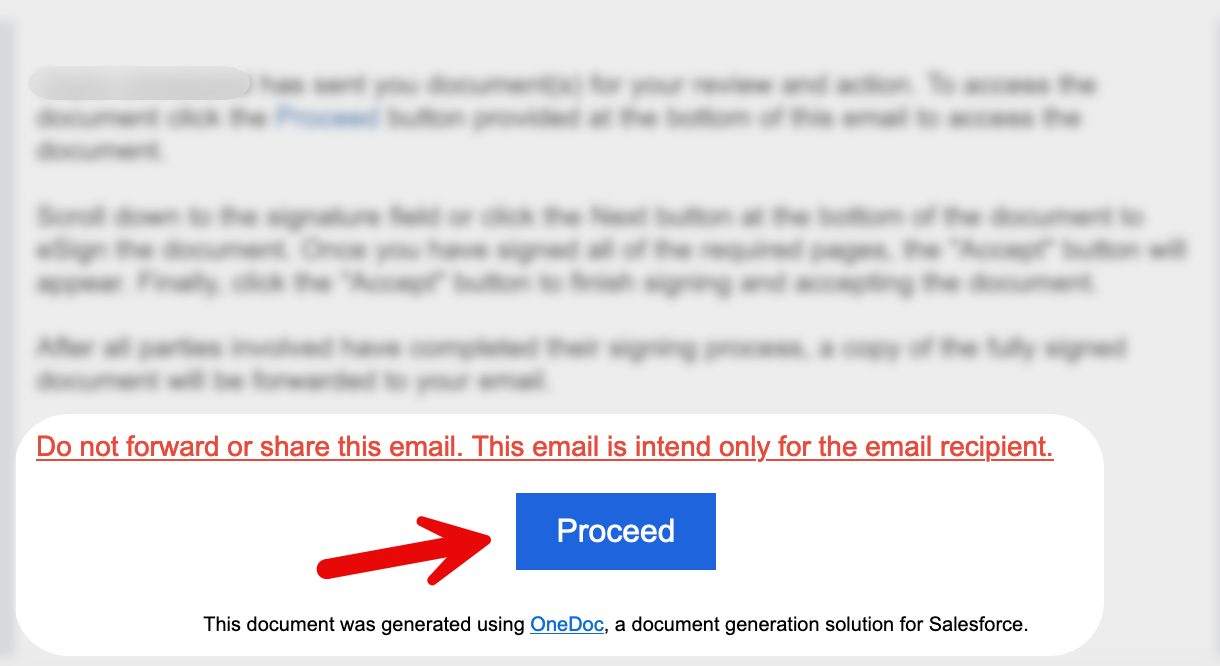
Click the 'Proceed' Link: To open the document, begin by clicking the 'Proceed' link received in your email. This link will redirect you to the document within OneDoc.
Step 2: Navigating the Document
Step 3: Taking Action
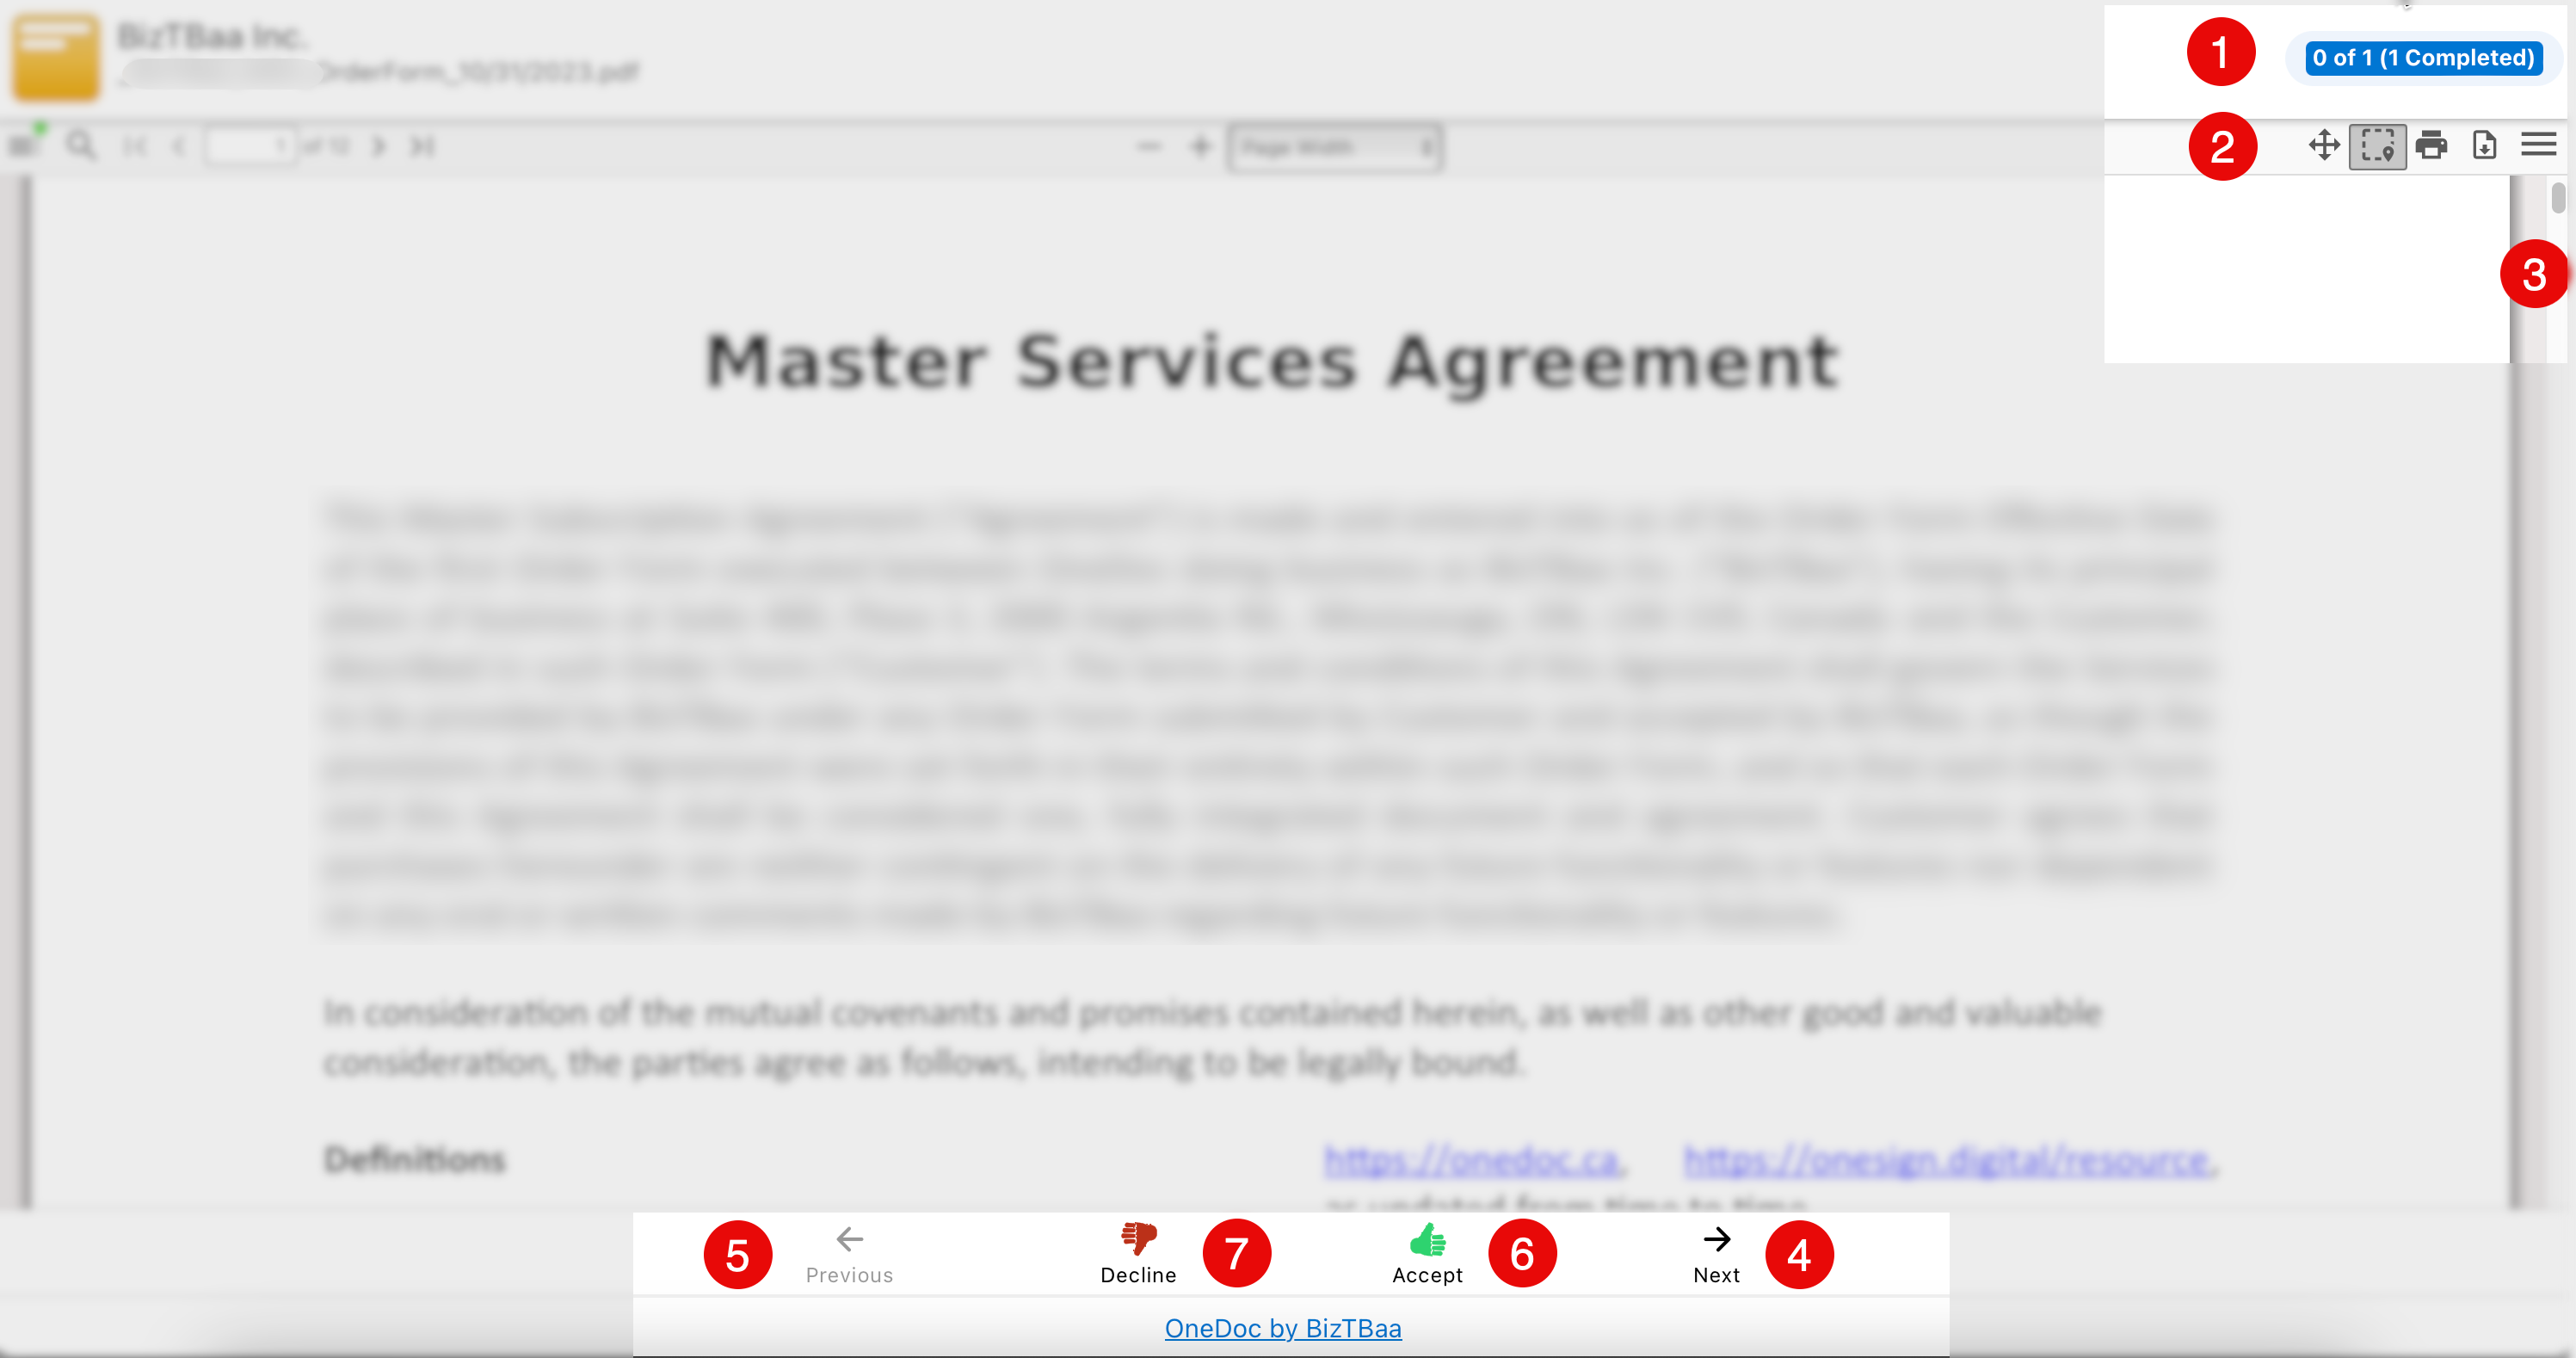
- The number of activities that the user who received the document must complete on the document. For instance, if the user needs to sign or fill out any fields on the document, each of these steps is an action. The screenshot above shows there is only one action, which is completed by the user.
- The document can be printed or downloaded by the user by using the appropriate icons provided.
- The user will be able to navigate the document by scrolling the page.
- By selecting the 'Next' button, the user will be able to rapidly move on to the next action in the document.
- By pressing the 'Previous' button, the user can rapidly return to the previous action in the document.
- If the user has completed all needed actions, the 'Accept' button will be activated or displayed for the user to accept the document by clicking the 'Accept' button.
- By pressing the 'Decline' button, the user will be able to decline the emailed document.
Step 4: Signing Pages

Multiple Signature Pages: If the document contains multiple pages that require your signature, clicking the 'Next' button will take you to the next section where your signature is needed. To sign a page, click on the highlighted box to open the signature pad. If you've already created a signature in a previous page, the system will auto-populate the same signature in the current box, allowing you to simply click 'Ok' to acknowledge.
The colour of the font shows whether or not the action is required. If it is red, it is required; otherwise, the user can proceed to the next action in the document.
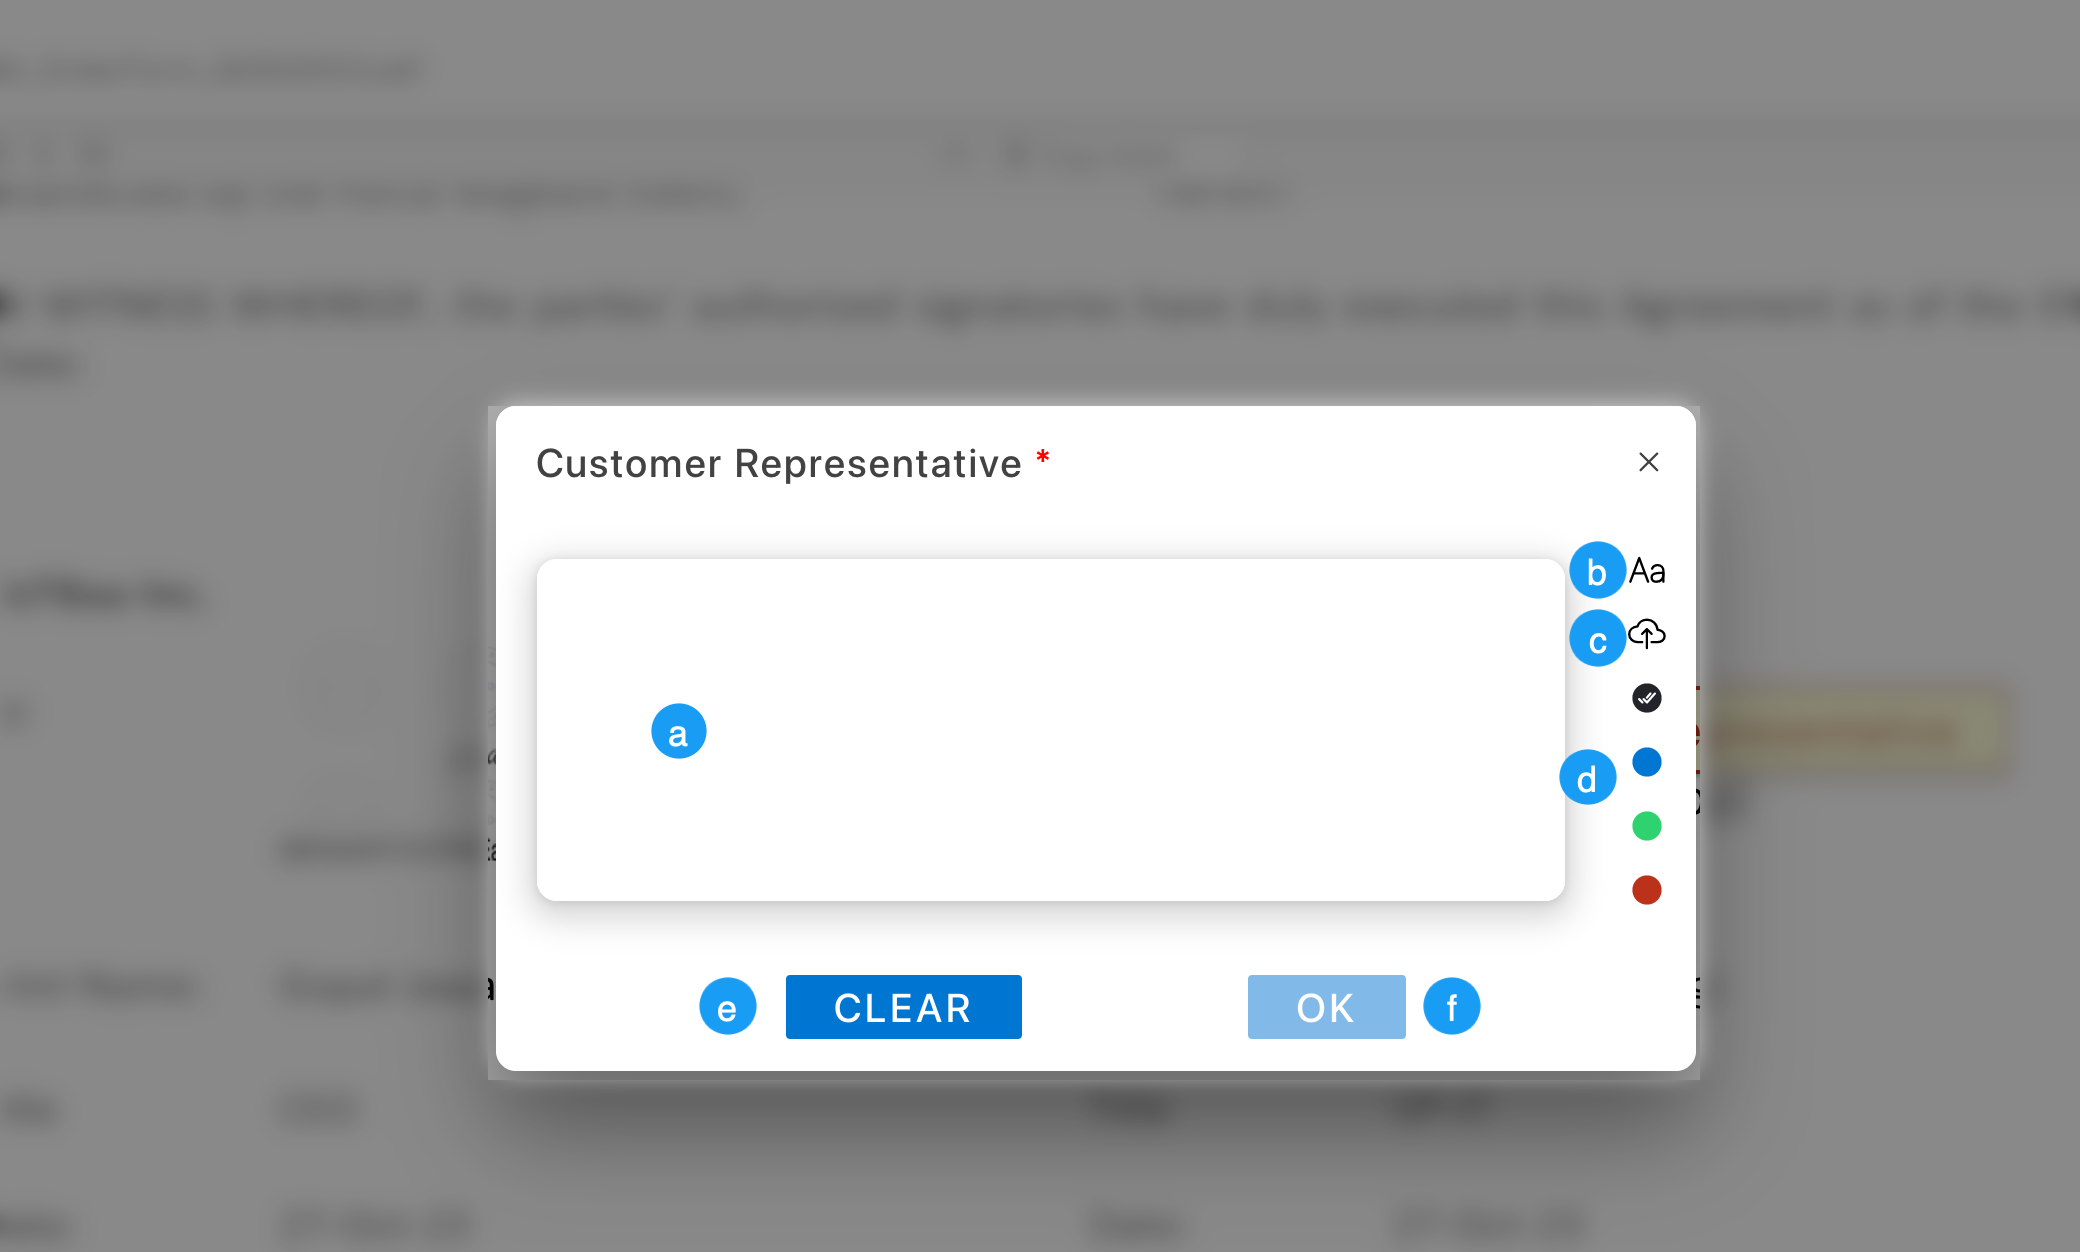
a. The user can electronically sign the document by writing their signature right on the canvas with their computer mouse or their finger if they are using a tablet or an iPad.
b. Alternatively, the user can type their name as their signature by clicking the Aa icon, which opens the text field under the canvas area of the signature pad.
c. Another option is to upload their signature image, which they may make with any image editing software.
d. The user can change the colour of their signature by picking their chosen colour, which is black by default.
e. If the user is dissatisfied with their signature, they have the option of clearing it and starting over.
f. If the user is pleased, they can click 'OK' button with the signature they gave in the signature pad to sign the document.